


Installation Guide
Visit our youtube page for a detailed video tutorial or check out our simple steps below!


.png)

4. Switch On
Connect the IR Bluetooth Controller to the light strip (arrow to arrow) and the other end to the 12V Power Supply
5. Vibe It Up
Set your desired colour, mode and brightness through the Remote or via Bluetooth App
.png)
6. Bluetooth Pairing
Download "Lotus LanternX" from the App Store, switch ON Bluetooth mode on your mobile device, launch the App and your LED strip will automatically connect to "BLEDOM"

3. Stick It
Remove adhesive on the light strips and gently stick it on the application surface

1. Plan and Design
Design your layout and measure the length required
2. Wipe Clean
Use a wet wipe and wipe clean the installation surface till dry
4. Switch On
Connect the light strips to the DC Port and the other cable end (USB) to a 5V USB Power Port
5. Vibe It Up
Set your desired colour, mode and brightness through the Remote or via Bluetooth App
6. Bluetooth Pairing
Download "Lotus LanternX" from the App Store, switch ON Bluetooth mode on you mobile device, launch the App and your LED strips will automatically connect to "BLEDOM"
3. Stick It
Remove adhesive on the light strips and gently stick it on the application surface
1. Plan and Design
Design your layout and
measure the length required
2. Wipe Clean
Use a wet wipe and wipe clean the installation surface till dry


1. Plug & Play
Plug the USB cable into a 5V USB Power Port and the other end (Mini-B port) into the Universal Galaxy Light
3. Control It
Set your desired lighting colour, mode and brightness using the remote provided
2. Bluetooth Pairing
Turn ON the Universal Galaxy Light & press the Bluetooth mode. Switch ON the Bluetooth mode on your mobile device and connect to "BTK10" to listen to your favourite song


.png)
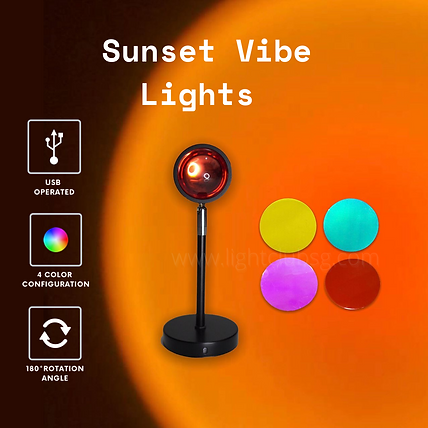
1. Assemble
Assemble the aluminium tube, base and lens together
2. Plug & Play
Plug in the USB Type A cable to a 5V USB Power Port and switch "ON" the main switch
3. Color Changing
Turn OFF the main switch and gently rotate the lens anti-clockwise till loose and replace with your preferred film colour
.png)


1. Plan and Design
Design your own modular hexagon light panel layout
.png)
7. Wipe Clean
Use a wet wipe and wipe clean the installation surface till dry
2. Flip It
Flip the light panels upside down and place it on a flat surface
.png)
3. Connect
Connect the PCB linkers (arrow pointing upwards) to the light panels
4. Plug In
Plug in the light panel holders to the corners of each light panel
5. Switch On
Connect one end of the USB cable to a 5V USB power port and the other end to any one of the light panels to power up
6. Touch
Gently touch the center of the light panel to switch "ON/OFF" the light
8. Stick It
Stick the double sided mounting tape at the back of light panel & peel off before mounting on a surface
1. Plan and Design
Design your own modular hexagon light panel layout
7. Wipe Clean
Use a wet wipe and wipe clean the installation surface till dry
2. Flip It
Flip the light panels upside down and place it on a flat surface
3. Connect
Connect the PCB linkers (arrow pointing upwards) to the light panels
4. Plug In
Plug in the light panel holders to the corners of each light panel
5. Switch On
Connect one end of the USB cable to a 5V USB power port and the other end to any one of the light panels to power up
6. Touch
Gently touch the center of the light panel or use the IR Remote control provided to switch "ON/OFF" the light
8. Stick It
Stick the double sided mounting tape at the back of light panel & peel off before mounting on a surface
![Hexa Lights [Rainbow].png](https://static.wixstatic.com/media/b3e6cb_c02ec44216b7446991a61014926c9273~mv2.png/v1/fill/w_420,h_420,al_c,q_85,usm_0.66_1.00_0.01,enc_avif,quality_auto/Hexa%20Lights%20%5BRainbow%5D.png)